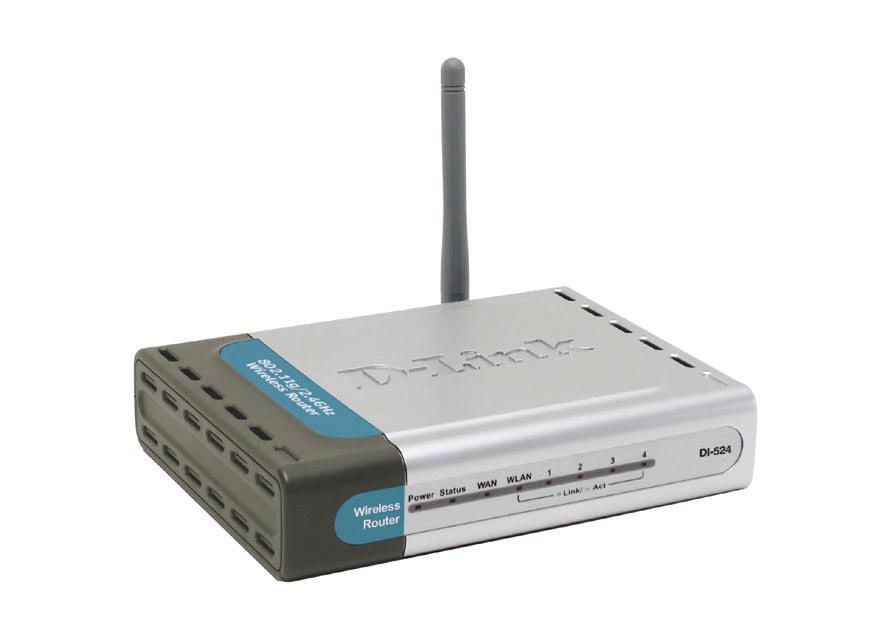
I recently created a post titled Securing Linksys WRT54G Wireless-G router in which I provided step-by-step instructions on securing the WRT54G router. The Linksys WRT54G Wireless-G router is a popular router, but it isn’t the only one on the market. In this post I will discuss how to secure another wireless router, the D-Link DI-524.
Note:
If you are having trouble with the administrative pages for the router, try using the Internet Explorer Web browser. The administrative Web pages for the router seem to work better in Internet Explorer.
Securing Your Wireless Router
Note:
If you need to reset your router back to the factory defaults, then please read How to Reset the D-Link DI-524 Wireless Router.
To secure your D-Link DI-524 wireless router, follow these steps:
- Open your Internet browser and enter the following in the address bar: http://192.168.0.1.
- Enter the user ID and password for your router. If you haven’t changed it, the default user ID is “admin” and the password is “blank”. We will change it later if you haven’t already changed it.
- We will first change the administrative password. First click the “Tools” tab at the top of the page. The “Admin” page should be displayed.
- Within the “Administrator Settings” on the right, enter a new password for the administrator beside “New Password” and then again beside “Confirm Password”.
- Click “Apply” at the bottom of the page. The next time you access the administrative options, you will need to enter the new password with the “admin” user ID.
- Next, click the “Home” tab, and then select “DHCP” on the right. The “DHCP Server” Web page should now be displayed.
- We will now limit the number of IP addresses assigned by your wireless router. Count the number of computers that will connect to the router, and change the “Ending IP Address” to allow that many computers to connect.
- Click “Apply” at the bottom to save your changes.
- Now we will secure you wireless connection to prevent others from connecting. Under the “Home” tab, click the “Wireless” option from the left.
- Beside the “SSID” option, enter the name for your wireless network connection.
- This is where the steps are different depending on which revision of the DI-524 you are using. Beside “Security”, if you see “WPA-PSK”, then you should select that option, and then go to step 14. If you see a dropdown list, select “WPA”. If you can’t connect using “WPA”, then select “WEP”. Using “WPA” will provide a much more secure connection that using “WEP”. For more information about WEP and WPA please read Wireless Security: WEP and WPA.
- Click “AES” beside the “Cypher Type”.
- Make sure “PSK” is selected beside “PSK/EAP”.
- Now you must get very creative. Specify a long “Passphrase” with a mix of upper and lower case letters, numbers and punctuation. Once again, please read Creating Secure Passwords for tips on how to do this. In this case the longer the better.
- Enter your passphrase next to “Passphrase” and again beside Confirmed Passphrase.
- Click Apply to save your security settings.
- Now you are all done securing your wireless router and network. All you need to do is connect to your network, and enter your “Passphrase” exactly as you specified it. I won’t go into detail on how to connect to your wireless network, as I will save that for another post.
Note:
If you have changed the IP address of your wireless router, enter that into the address bar. By default, the address is 192.168.0.1.
For example, if you have three computers that need to connect to your wireless router, enter “102” into the text box. The first computer will get the IP address 192.168.0.100, the second 192.168.101 and the third 192.168.0.102.
Make sure you write down this key somewhere, either on a piece of paper or in a text document on your computer. You will need this information when you connect to your wireless network.
Wireless Router Security Connection Questions
- How come we didn’t disable the SSID broadcast? Won’t that help with securing my wireless connection?
- It has been mentioned many times that disabling your SSID broadcast will help secure your network. The reality is that those who attempt to get into your wireless network will be able to easily pick up or SSID whether it is broadcasted or not. You may also have problems connecting to your wireless router if you disable the broadcasting of your SSID. I keep it enabled.
- Question: Why do you specify to use WPA – Personal first, and not WEP?
- The reason is that WPA is much more secure than WEP, and therefore you should use that security mode over WEP. An experienced hacker can easily crack WEP encryption so it doesn’t provide as strong security as WPA. If you can’t use WPA, use WEP because it is still better than nothing.
Summary
This post provided step-by-step instructions on securing your D-Link DI-524 wireless router. After following the steps, you should now be confident knowing that you have a secure wireless Internet connection.