I have a lot of important files stored on two external hard drives beside my computer. What makes these files important is that they contain photos and videos of my life since 2002 that can’t be replaced. Since that time my life has changed substantially – marriage and raising a family. Losing the files that captured all moments over the past 14+ years is not an option.
With the rise of malware, more specifically ransomware that encrypts files until a ransom is paid, it has become increasingly more important for me to protect my data files. I already have implement methods of protecting my data – logging in with a standard user account, using OpenDNS and blocking many harmful sites, using browser plugins that block JavaScript until I allow it, as well as having devices outside my home to connect to a segregated guest network.
Even with the precautions I have in place on both my network and computers, there is still a chance that some form of malware can get access to my files. With my kids using the computers more and more these days, the chances of malware infection increases.
I decided to revamp how I backup and protect my data files. In turn, making it more difficult to modify those files, even while on the network. Here are the steps I have taken to protecting my data files.

Step 1: Backing up my files
I have always had a backup process in place but it did require some manual intervention. I wanted to make a more automated backup process. A process that not only included a second local copy, but also an offsite copy of the files.
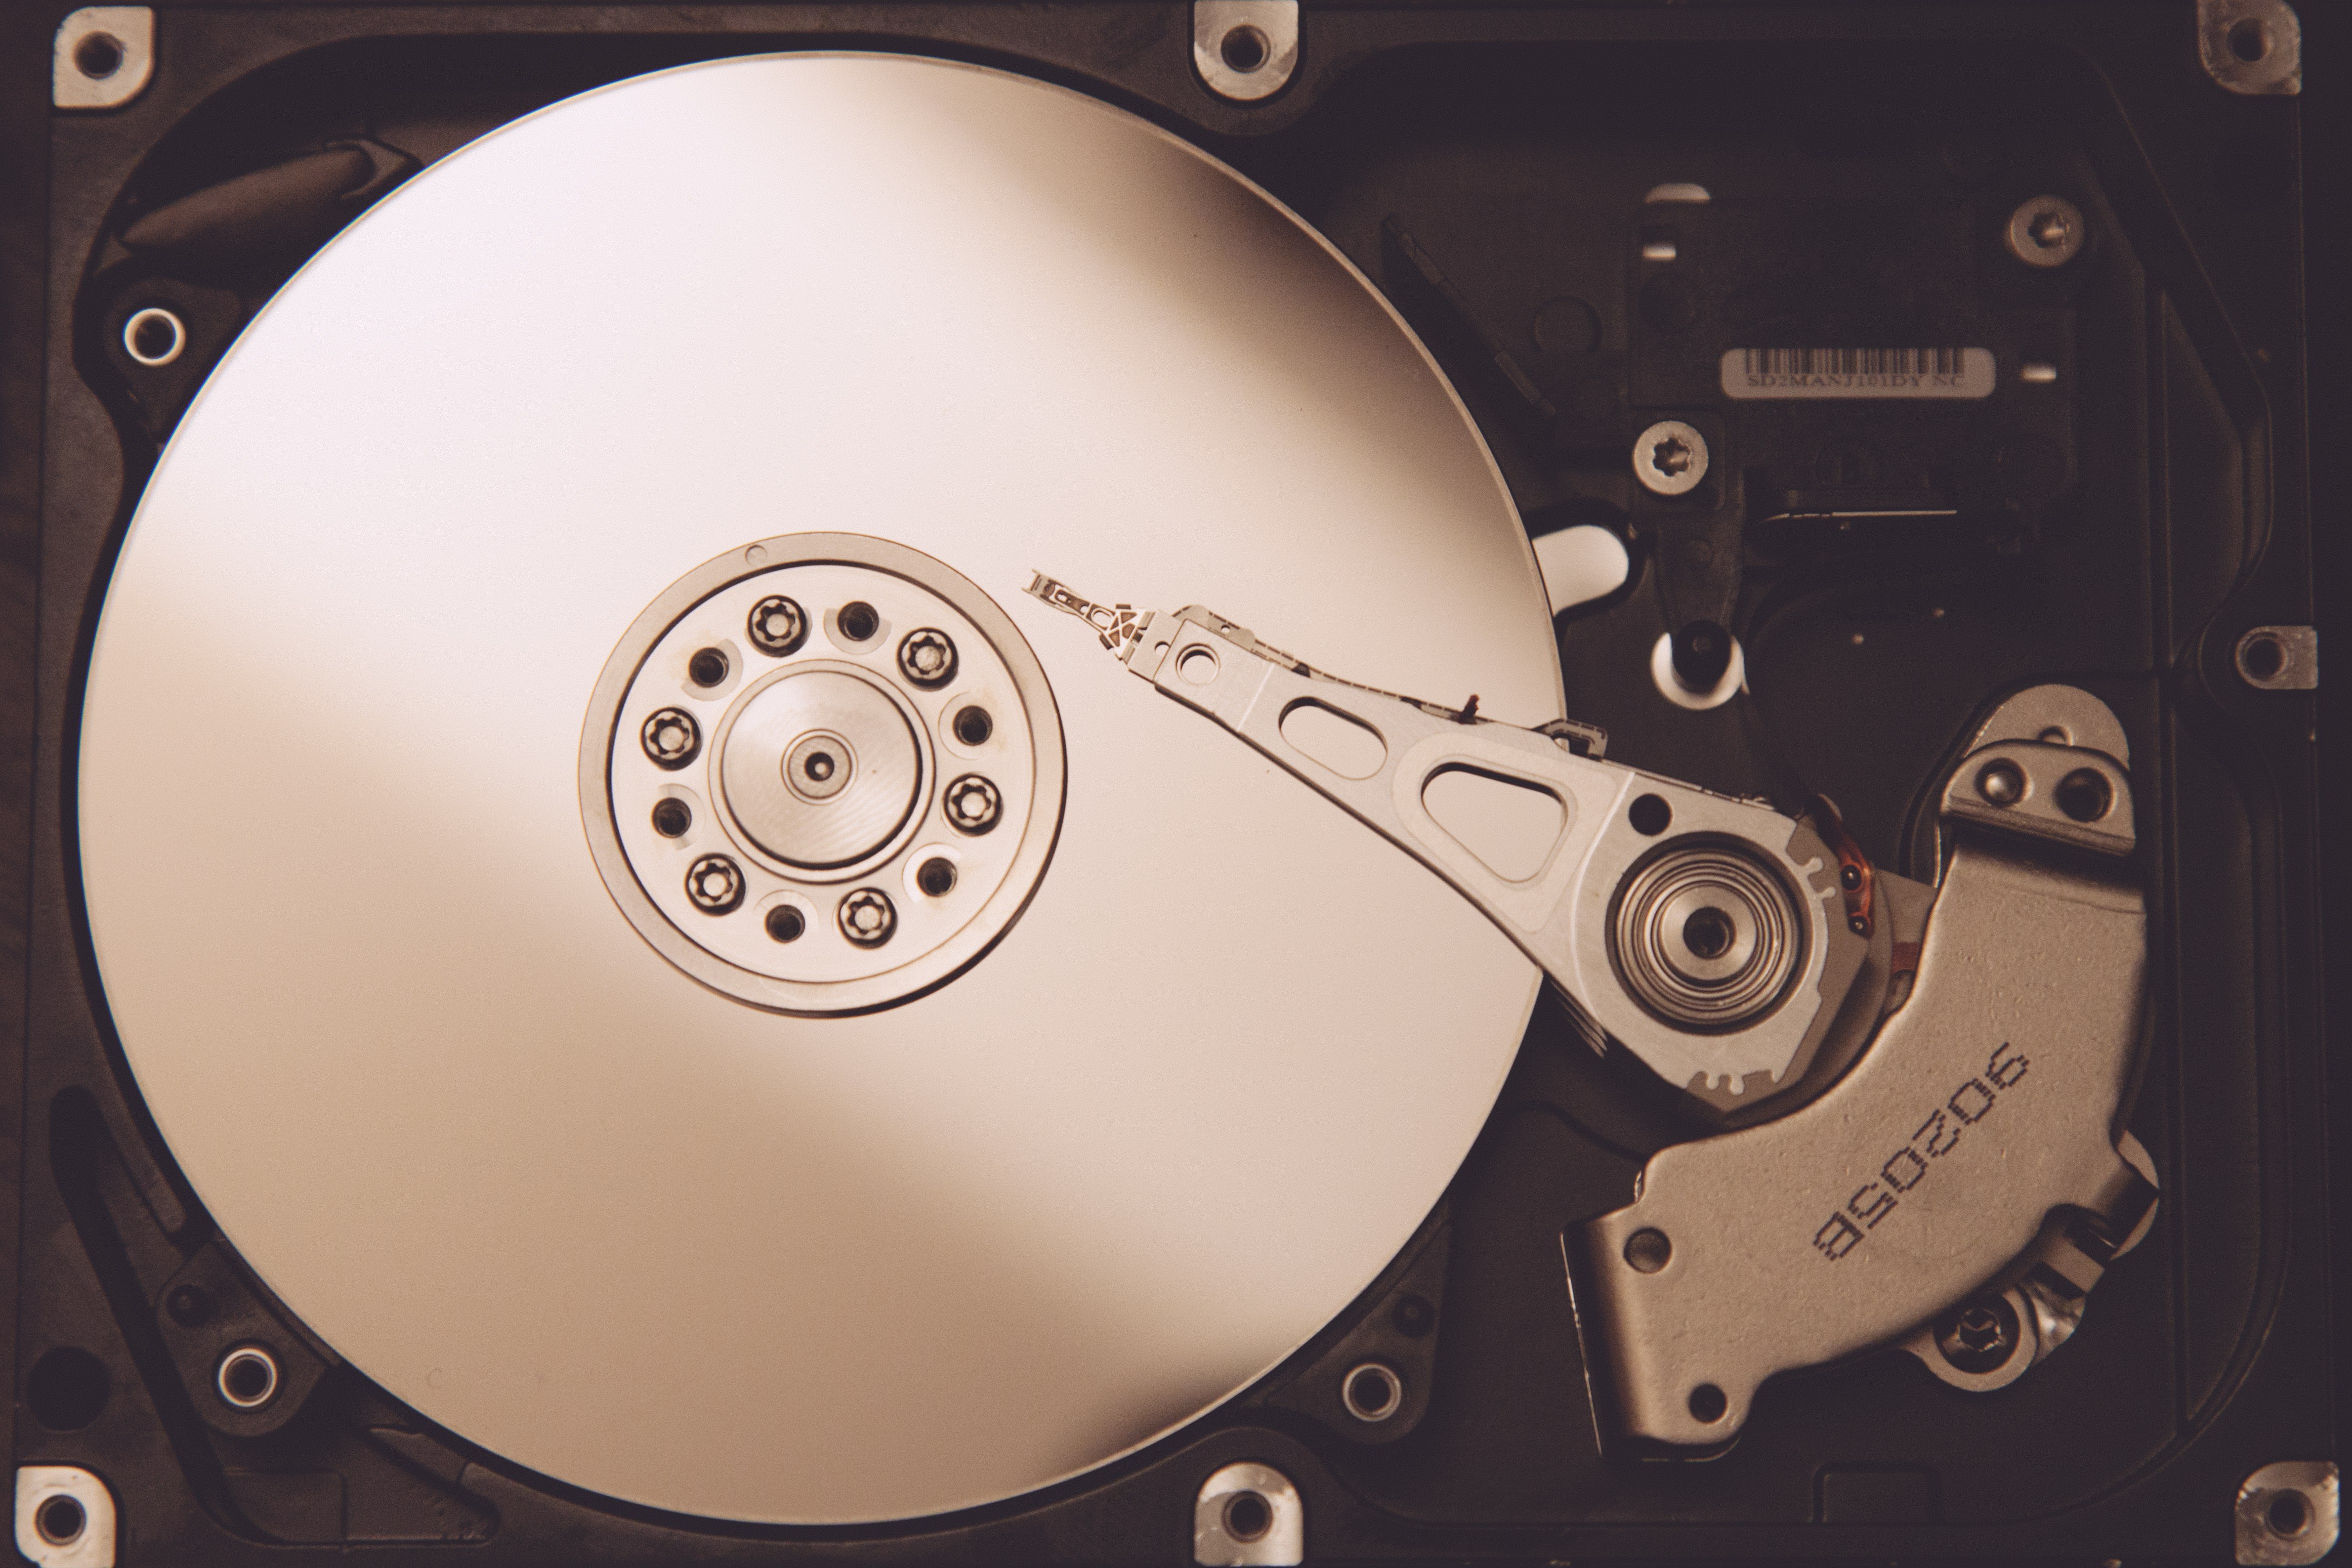
Several months ago I setup and Plex Media Server using a desktop that I bought off eBay. The desktop is more than powerful enough to stream media from Plex to any device in my home. Since it won’t be streaming movies constantly, I decided to also use the server as my file storage.
Local drive mirroring
My Plex media files are stored on a Western Digital Duo hard drive enclosure. The two hard drives in the enclosure are mirrored using Stablebit DrivePool. I decided to use DrivePool to also mirror my data files from one external hard drive onto another. The drive mirroring provides redundancy in case one drive fails. With DrivePool running, I automatically have two copies of my data locally by simply copying the files to my drive.
On top of that, I also use Stablebit Scanner to scan my data files external hard drives once a month. Stablebit Scanner also monitors the S.M.A.R.T. data on the drives and reports any issues to me through email. This setup allows me to be proactive in resolving any problems, to avoid any chance of losing data.
Offsite backup
The next step is to have my files automatically backup offsite to the cloud. My cloud storage service of choice is Backblaze. I have been using Backblaze for many years without any issues.
Once I copy my files to my DrivePool drive, the Backblaze service automatically finds the changes and then backs up those same files to the cloud. At the moment I have almost 700 GB (241,740 files) backed up with Backblaze. I can access my files from anywhere even from my mobile devices.
So I now have two local copies of my data and an offsite copy of the same files. I also have an external hard drive that I store offsite that I update once a month with any changes.
Of course, all this will be moot if I also didn’t protect my files from malware on my local network and computers.

Step 2: Restricting access to the server and files
One of the best ways you can protect your data files is to prevent users from accessing the server. You can also provide read-only access to the files. This is what I have done with my server and files.
Standard user account but not logged in
The one issue I have is that I am storing my files on a media server that can be access from devices on my network. This can be an issue if a security issue is discovered in the Plex application. Such an issue could allow a miscreant, or malware, to gain access to my files.
I reduce the chances of a malware from using Plex to gain access to my files by simply running Plex under a standard user account. This account can’t access my data files. If something tries to exploit a security hole in Plex, and attempt to access the server using the same account that Plex uses, they would be limited to what they can do.
To add to the user access, I also don’t log into the server, unless I need to manage things on the server. Since everything on the server runs as a service (Backblaze, Stablebit DrivePool, and Stablebit Scanner), I don’t need to log into the server to ensure my data is backed up – it happens as long as Windows is up and running.
Read-only access to my files
When I need to access my data files, I map a drive letter to a share on the server from my desktop. The user I use to map to the server has read-only access and can’t change any data file. This means that if malware exists on my desktop, it can’t modify my data files because they are read-only.
I treat the folders that contain my data files as a master copy. I rarely change the master copy of a file. In fact, when I edit my photos, I use Lightroom, which doesn’t make any changes to my photos. Lightroom simply stores the changes in a database file and then applies the changes internally in Lightroom.
If I do need to make changes to a file, I will copy the file locally and then make the changes. I never make changes to the master file directly.
Of course, this begs the question as to how do I modify or add files to the server if I connect using an account that is read-only? Simple – I use a staging area.

Step 3: Using a staging area
Since I connect to the data files with an account that is read-only, making changes to my files (such as my Lightroom database) is not possible.
The way I get around this is I use a separate folder as my staging area.
What is a staging area?
The staging area is simply a write-able share on the server that is monitored by a service on the server for changes. When files are added to the staging area, the service will move the files to the proper folder within the data folder.
How my staging area works
The files are moved, and not copied because once all the files have been processed by the service, the staging area will be empty. Moving the files helps to prevent malware from making changes to any file after it has been moved. This prevents the staging service from updating malware-changed files from being copied over any master file.
Is this system perfect protection from malware? Nope, but it does reduce any chances of infecting my data files. The entire file moving process from the staging area to the master files area takes seconds. The short time a file is in the staging area may prevent malware from changing the file before being moved. Once the file has been moved, it is now in the read-only share and can’t be changed.
While this may seem like a tedious way of copying my files to the server, it really isn’t. I just need to map the staging area share on my desktop and copy the files. Everything else – the move to the master files folder, the mirroring, and the cloud backup – are done automatically for me.
Bringing it all together
While I have taken steps to protect my data at a network and computer level, I wanted to do more to protect my data files. Using a desktop computer I can easily have my data mirrored locally and backed up offsite automatically.
Restricting access to my data files, I can make it more difficult for any malware within my network to change my files. By using a staging area, I can add and update my data files without removing any of the restrictions.
I will continue to make necessary security changes as the world of security (or insecurity) changes.
Do you have data files that you need to keep safe? If so, how do you keep the files safe?