You don’t need a major Hollywood studio or even expensive equipment to create 3D video. Chances are you have everything you need already.
You can get 2D to 3D conversion from several applications, but YouTube provides a free and easily available solution for anyone. This works for any videos that you may have sitting on your hard drive already, but works even better if you learn some tips to shoot 2D video with the knowledge that you’re going to be converting to 3D later. And to create 3D videos from separate 2D video cameras will start you well along the way to a good 3D result, because you’re giving the 3D conversion exactly what it needs to generate the most “depth.”

YouTube Conversion from 2D to 3D
YouTube makes it easy to turn any video into a 3-D video; with an option for 3D conversion built into the site’s options, you can even convert videos that you’ve already uploaded — no preparation necessary. NOTE: the HTML5 version of YouTube does not support as many 3-D options as the “classic” site.
- Simply log into YouTube as usual. Chances are you already have a YouTube account, and if you’ve already got a Google Account for any reason (Gmail,
Android, Google+, et cetera), you automatically have a YouTube account as well. If none of the above apply, simply surf on over to [https://accounts.google.com/NewAccount] and follow the simple instructions. - If you’ve already uploaded a video that you’d like to convert to 3D, skip to the next step. If not, simply click on “upload” (top of the screen, middle-right) and select the target video file. You can even record one in real-time from your webcam, if you like.
- Once uploaded, select “Edit” from the video’s page (top left, under the YouTube logo) and then click on the “Advanced Settings” tab (under the video preview).
- On the bottom right of the settings window, you’ll see the “3D Video” settings. Select “Please make this video 3D” and get ready for a fairly long wait while processing takes place.
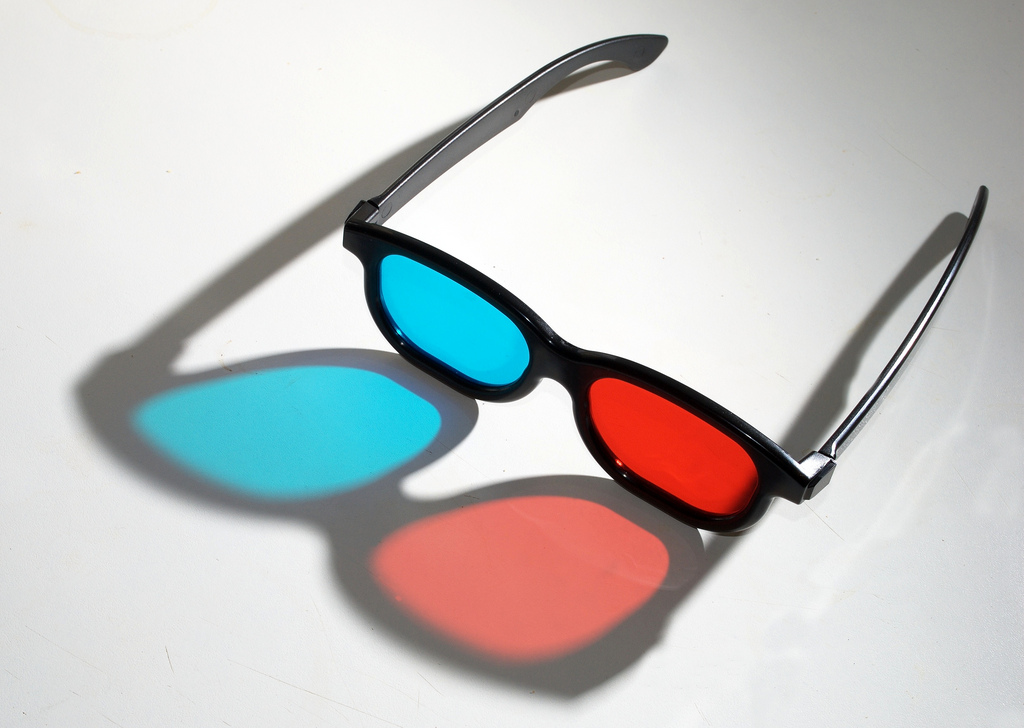
- Once finished, you’ll see the red “3-D” icon at the bottom-right of your video pane, right along with the usual resolution and full-screen icons. Selecting the 3-D icon will give you all of the options for viewing (Red/Cyan, Interleaved, Cross-eyed, etc.) so that you can match the video to your hardware and/or glasses.
Shooting Video with 3-D in Mind
If you’re going for a more immersive 3D experience, you’ll see significant benefits from shooting with a pair of video cameras. It helps considerably if they’re the same kind of camera (i.e., using two iPhones set to the same resolution), but you can get good results with disparate hardware; as long as you’re careful to match the formats and resolutions as closely as possible.
- Firmly attach your two cameras to something that you can carry or mount; rubber bands and a ruler will do just fine, but feel free to get creative. A rule of thumb in 3D video is that the closer the two cameras, the more “realistic” the 3-D effect, and the farther away, the more pronounced the effect. Stereo cameras try to match the arrangement of human eyes (about 6.35cm or 2.5 inches) but you’ll probably want to keep your cameras much farther apart, at least six inches, to really see the 3D effect.
- You can drive yourself crazy trying to start both cameras at the same time, or you can just decide to sync the two video files later. Either way, keep in mind that you’ll be much better off with a steady shot of something that stands out from the background than you will be if you try to get moving close-ups and long-distance shots.
- Putting the two videos together requires dedicated software; YouTube has yet to offer the ability to integrate separate left and right video files. There are some good commercial applications: Vegas Pro, After Effects, Final Cut, but there are also a few freeware options, such as SMM (Stereo Movie Maker) [http://stereo.jpn.org/eng/stvmkr/index.html].
- From within your chosen application, simply load both video files and fiddle with the timing controls until both are in sync.
- Likewise, adjust the single-pane preview alignment until the individual pictures are as close to perfectly overlapping as possible. Because you shot the video from slightly different angles, you may not get one picture to ever sit perfectly on top of the other, but you can get it VERY close.
- Save the results to a single video file, but make sure you have the “side by side” option checked.
- Upload to YouTube and convert to 3D as described above. Technically, you should be able to skip this step, but having the embedded 3D options will make your video much more flexible for a range of 3D viewers.
Whichever method you decide to employ, you’ll be well on your way to producing effective 3D video. Don’t be discouraged if your initial results only give a hint of 3D; there are a lot of individual things that you can work on to make your final videos “pop.” Distance and color/lighting contrast from the background, camera settings, overall scene composition, and software conversion settings are some of the things you can try. A little practice and experience goes a long way toward creating the most believable 3D illusion for any combination of hardware.
Photo by Matt Neale