I take backing up data very seriously. I have a lot of digital photos and several home videos that I have taken and have currently backed up. The main reason that I backup my data is that the data can’t be replaced, and I don’t want to lose any of the files.
Many people probably don’t think about backing up their data until it is too late. What they don’t know is that it isn’t hard to backup their data using the “Backup” tool that is include with Windows XP. It may not rich in features, but it can help to keep your data safe. Let’s see how to use the tool to backup your data.
The Backup and Restore Wizard
![]()
Windows XP includes a simple tool that can help you backup your data. It isn’t rich in features as a commercial tool, but for those that simply need to make copies of their data, it can do the job easily.
To use the tool to backup your data, follow these steps:
- Start the “Backup” tool by clicking “Start->All Programs->Accessories->System Tools->Backup”.
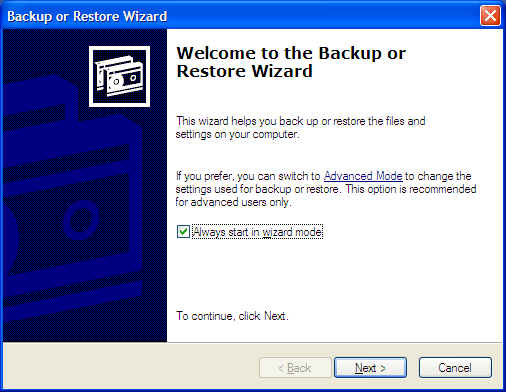
- The “Backup or Restore Wizard” should load on the screen, as seen below. If it has been disabled you can start the wizard by clicking “Tools->Backup Wizard”.
 The Backup or Restored Wizard.
(Click to enlarge) - Click the “Next” button to continue.
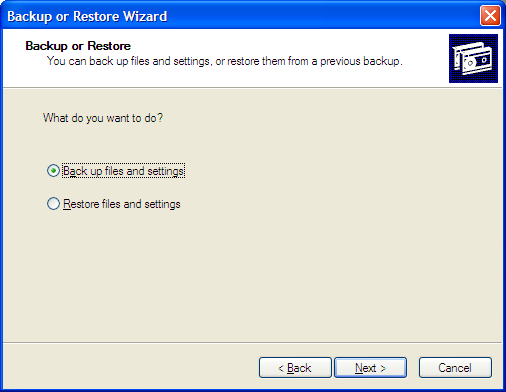
- In the next window, you can select either to backup or restore your files. Since we want to backup, select the “Back up files and settings” option as shown below. Click “Next to” continue.
 Selecting back up files.
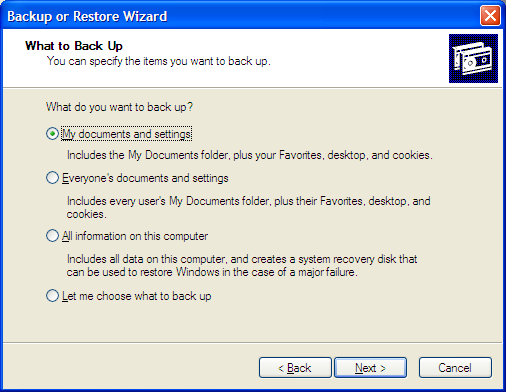
(Click to enlarge) - The next window has several options. If you are new to backing up data, select the first option: “My documents and settings”. If there is more than one user of your computer, select “Everyone’s documents and settings”. More advanced users can select the last option.
- Once you have made your choice, click “Next” to continue.
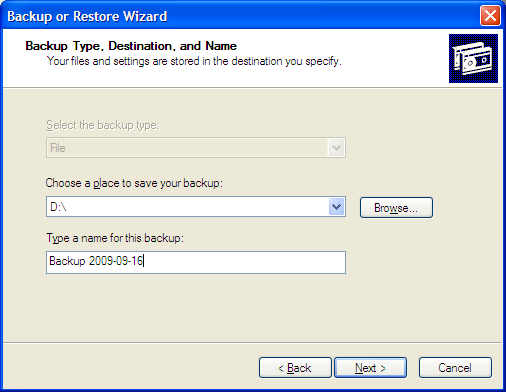
- Now you need to choose the location of where you want to store your backup file. I suggest you don’t choose any local drives. If you have an external hard drive, I suggest you use that to store your backup file. After selecting a drive, you can then name your file. The Backup tool will create one file that will hold all your data, which can then be used later to restore your data.
- Once again, click “Next” to continue.
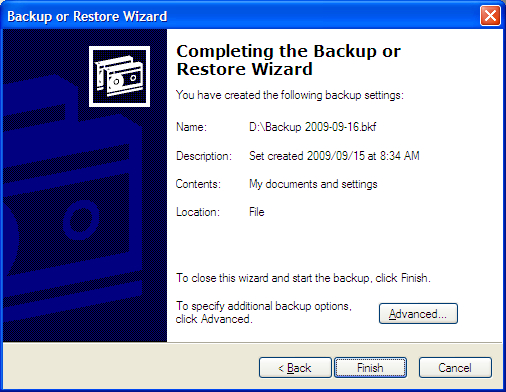
- You should now see the final screen that displays the options you have set. If you are happy with your choices, click “Finish” to begin the backup process. Click the “Back” button to make changes.
- The amount of time it takes to backup your data depends on how much you have chosen to backup. Once it is done, you will see the backup file in the location you specified.
(Click to enlarge)
(Click to enlarge)
(Click to enlarge)
While not rich in features, the “Backup” tool included in Windows XP makes it very easy to make copies of your data. If you have a lot of data, like digital photos, essays, or other files you don’t want to lose, then backing up those files will ensure you will always have them available.