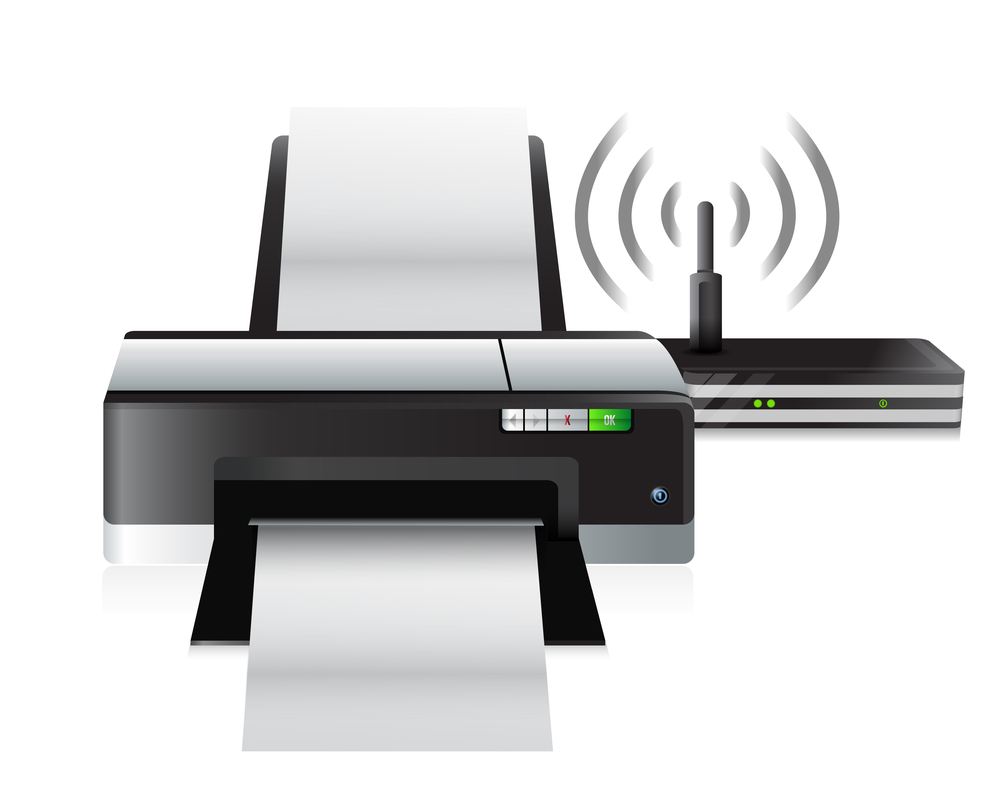
I recently wrote a post that outlined how to connect to a network printer. The post, however, didn’t talk about how to setup a network printer at home so that any computer connected to your network can use the printer.
In this post I will explain the steps involved to setup a network printer so you can then connect, and use it from any computer that is connected to the network.
Sharing a Printer
For many people with multiple computers, printing from a printer involves disconnecting the printer from one computer, and then reconnecting it to another. For those connected to a wireless network, you would literally have to go to the printer, and then connect the printer directly to the laptop.
Print sharing allows a printer to connect to a computer, such as a desktop, and then allows any computers that are on the same network to print to that printer. This means that if you are wireless, you can just connect to the printer and print, without having to physically connect to the printer.
Sharing a printer in Windows XP is easy to do and involves the following steps:
- Click Start->Control Panel to open up the control panel.
- Click Printers and Other Hardware, and then click Printers and Faxes.
- From the Printers and Faxes window, right-click the printer, and then select Sharing… from the menu.
- In the Share name box, enter a name for the printer.
- Click OK to save your changes.
To connect to the printer from another computer, use the steps outlined in how to connect to a network printer. When you need to print to the printer, ensure the computer that is sharing the printer is turned on.

